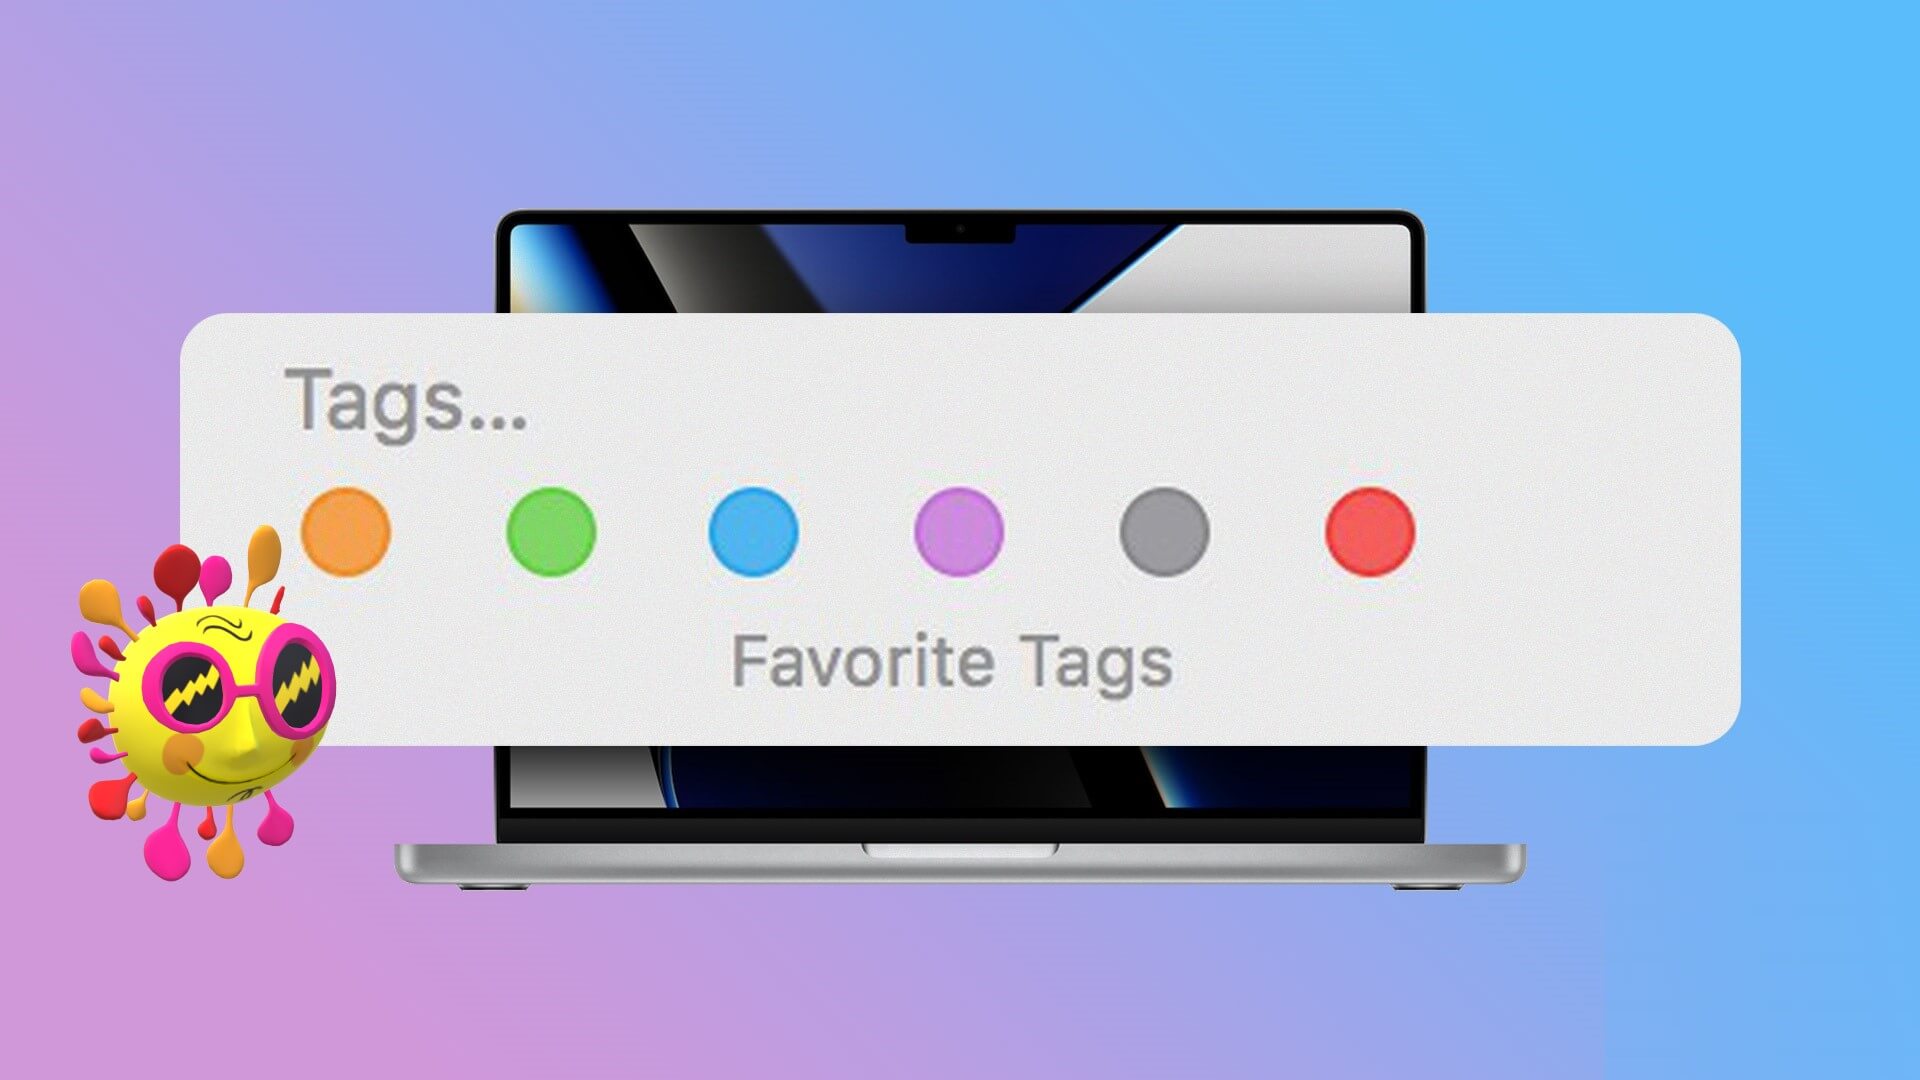
How to use tags in Finder to organize files on Mac
How to use tags in Finder to organize files on Mac
tags! In this blog post, I will show you how to use tags in Finder to organize your files on Mac. This system is so simple and effective, and it has completely changed the way I use my computer. Trust me, once you try it, you’ll be hooked!

How to use tags in Finder to organize files on Mac
What are tags?
Tags are a great way to organize files on Mac. They provide an easy way to keep track of different types of files, and make it easier to find them later.
There are two ways to tag files on Mac: through the Finder itself, or using Terminal. Finder is the easier option, but if you’re more comfortable using the command line, Terminal can be faster.
To tag a file in Finder, select it and press Command+T. A dialog box will appear where you can enter a name for the tag. Once you’ve entered a name, press Enter or click OK. The file will now be tagged with that name.
You can also add tags to multiple files at once by selecting them all and then pressing Command+T. A dialog box will appear asking you to enter a name for the tag. Once you’ve entered a name, press Enter or click OK. All of the selected files will now be tagged with that name.
To view all files with a certain tag, open Finder and click on the Tags section in the sidebar. Alternatively, you can use Spotlight to search for files by tag by entering “tag:” followed by the name of the tag into the search bar. For example, searching for “tag:work” will bring up all files that have been tagged with “work”.
If you want to remove a tag from a file, select the file and press Command+T again. In the dialog box that

How to create and apply tags
When you have a lot of files on your computer, it can be tough to keep them all organized. That’s where tags come in! Tags are like labels that you can apply to files and folders, making it easy to find what you’re looking for later.
To create a tag, open Finder and click on the “Tags” sidebar item. Then, click the “+” button at the bottom of the sidebar. Enter a name for your tag and choose a color. You can also add a shortcut key by clicking the “Keyboard Shortcut” button.
Once you’ve created your tags, you can apply them to files and folders just by selecting them and clicking the appropriate tag in the “Tags” sidebar. You can also use tags to search for specific items; just click the “Search” icon in the Finder toolbar and enter your search term followed by “tag:nameoftag”. For example, if you wanted to find all of the files tagged with “work”, you would enter “work tag:work” into the search bar.
How to use Smart Tags
When you’re working with a lot of files, it can be helpful to tag them so you can easily find and organize them later. Finder in MacOS allows you to do just that.
Here’s how to use Smart Tags in Finder:
1. Open Finder and select the file or files you want to tag.
2. Right-click (or Control-click) on the selection and choose Tags from the contextual menu that appears.
3. In the pop-up window, enter a name for your new Smart Tag in the Tag field and clickOK.
Now, whenever you want to find all of the files tagged with a certain Smart Tag, just open Finder and click on the Smart Tag name in the sidebar under Tags. All of the files associated with that tag will appear in the main window.
Tips for organizing with tags
1. Keep your tags consistent.
When you’re tagging files, be consistent in how you use tags. Use the same tags for similar types of files, and use different tags for different types of files. This will make it easier to find the files you’re looking for later on.
2. Use specific tags.
Don’t just use general tags like “documents” or “photos.” Be specific with your tags so you can easily find the exact file you’re looking for. For example, if you have a document about your vacation, tag it with the name of the destination and the date of your trip.
3. Use multiple tags for each file.
If a single file can fit into multiple categories, tag it with more than one tag. This way, you’ll be able to find the file no matter which category you’re searching in.
4. Create new tags as needed.
If you can’t find a suitable tag for a file, don’t be afraid to create a new one! Tags are flexible, so you can always add more as needed.
Conclusion
If you’re anything like me, your Mac’s Finder is a cluttered mess of files and folders. But by using the tagging feature in Finder, you can quickly and easily organize your files into neat little categories. This makes it much easier to find the file you’re looking for when you need it. So next time you’re feeling overwhelmed by the chaos of your Finder window, take a few minutes to tag your files and see how much simpler everything becomes.
